Capturing the image with the camera on memory card or film is just the first step in creating a long exposure photograph. Long exposure pictures will truly come alive in post processing. I have established a standard workflow for myself which I will illustrate here step by step. It is a workflow which is optimized for black and white images, for color images the steps would be different.
For my post processing workflow I use a set of common image processing tools:
- Adobe Lightroom for the initial processing – that is where 90% of the work is done
- Adobe Photoshop for some contrast fine tuning and for scaling down for web publishing
- Snapseed (on my Android mobile phone) for optimization for web publishing and online posts, particularly for mobile viewing
I use both Lightroom Mobile and Lightroom Classic for PC, with sync via the Adobe Creative Cloud. Lightroom Classic is my main tool where I do editing and finishing and where I maintain my catalogue. Lightroom Mobile is a useful extension which has most of the functionality I need for field use. I use Lightrooom Mobile on photo trips to do the initial time-consuming processing on my mobile phone on the train ride home.
Starting with the RAW Image in Lightroom
Anybody who is putting serious effort into post processing will prefer to work with camera RAW images instead of JPEG, and so do I. The RAW image is thus the starting point for my workflow. Although I usually set my camera to black & white mode when shooting the RAW image will still have all the color information.

Adjusting the dynamic range in Lightroom
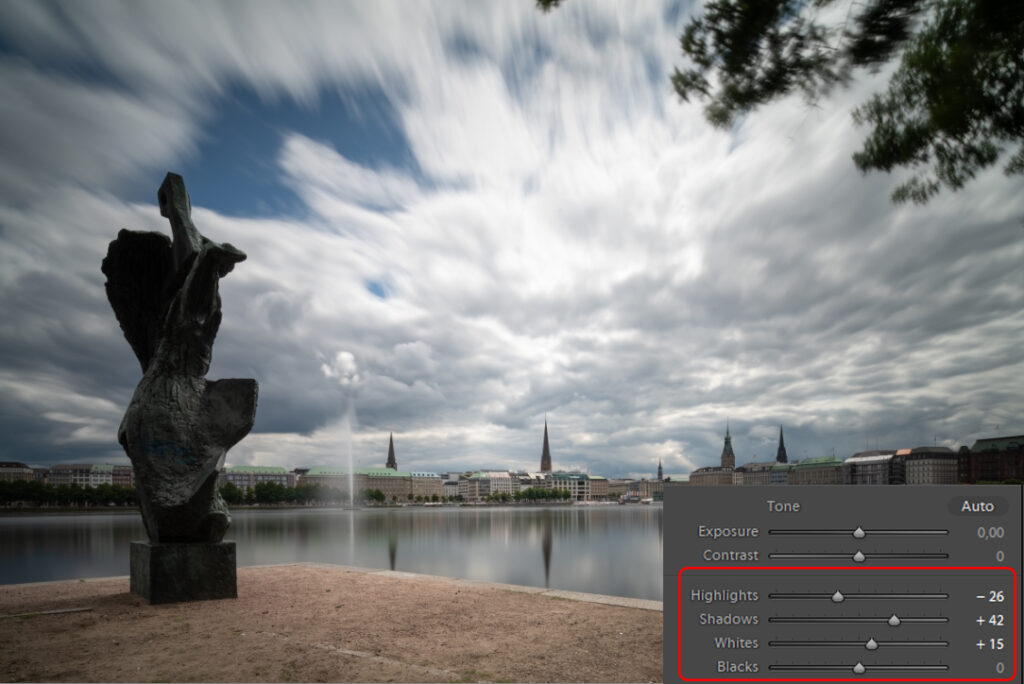
My first step is to adjust the dynamic range of the RAW image. I use the age-old rule “expose for the highlights, develop for the shadows” for exposure. This means that I meter for the sky. Thus the sky and clouds are usually exposed just right or slightly overexposed, but foreground subjects and the horizon will be significantly unterexposed and will lack detail (like the sculpture to the left and the city skyline). This I adjust with the tone sliders in Lightroom. In most instances I reduce highlights but increase whites slightly to improve cloud texture. I will also I increase shadows, often quite substantially, to increase details in the shadows.
Conversion to black and white in Lightroom
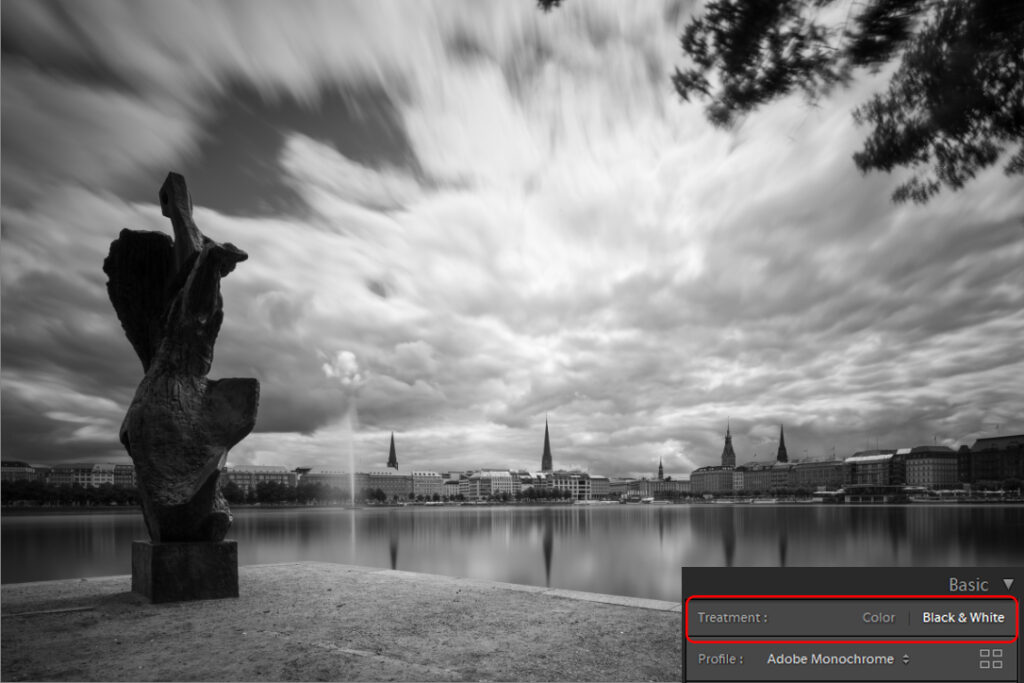
The next thing in my workflow is conversion to black and white. This is done in three steps. First, I simply switch the Lightroom treatment to black and white.
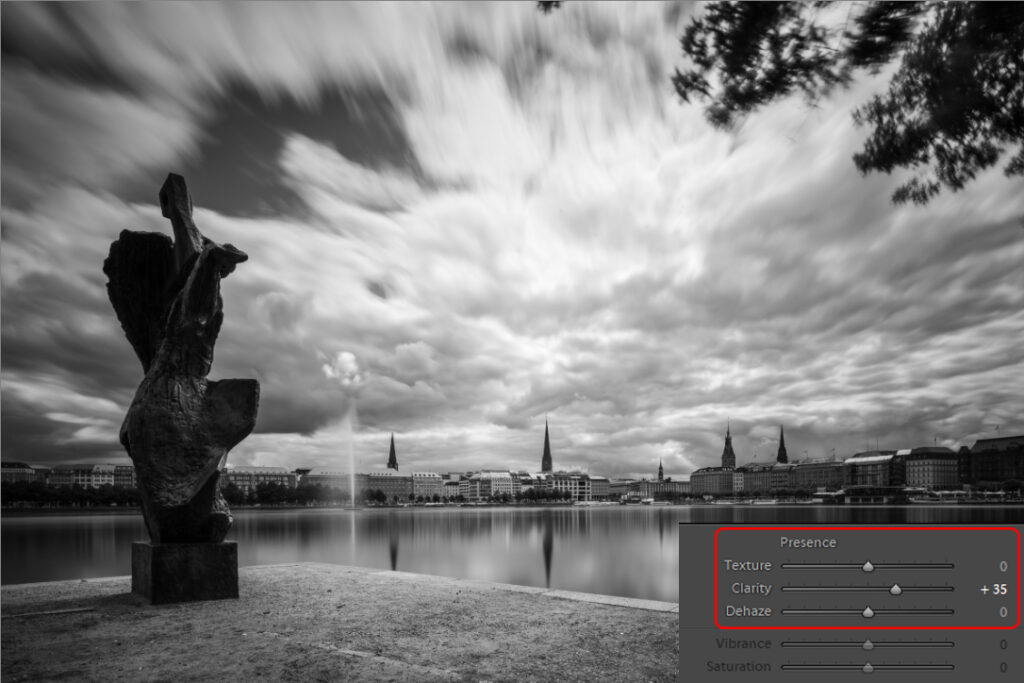
The second step is to adjust clarity in Lightroom to improve local contrast. The image will look more “crispy”. On some (infrequent) occasions I also use the dehaze slider which will give the image a darker mood.
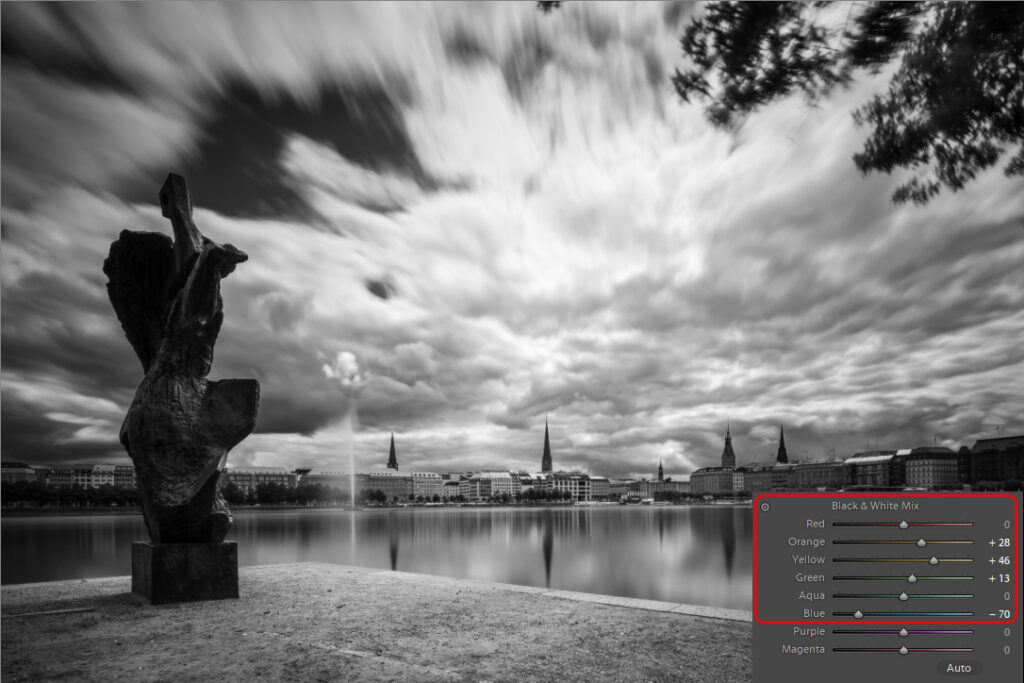
The third step is to fine-tune the black and white tones by adjusting the color channels for black & white conversion. I mostly make the following adjustments:
- Reduce blue channel to darken the blue sky and to increase the long exposure cloud effect
- Increase yellow and/or green channel to lighten up vegetation
- Increase orange channel to brighten up sandy areas (gravel paths, beaches) or to brighten up brick buildings which are very common here in northern Germany
Setting the mood in Lightroom
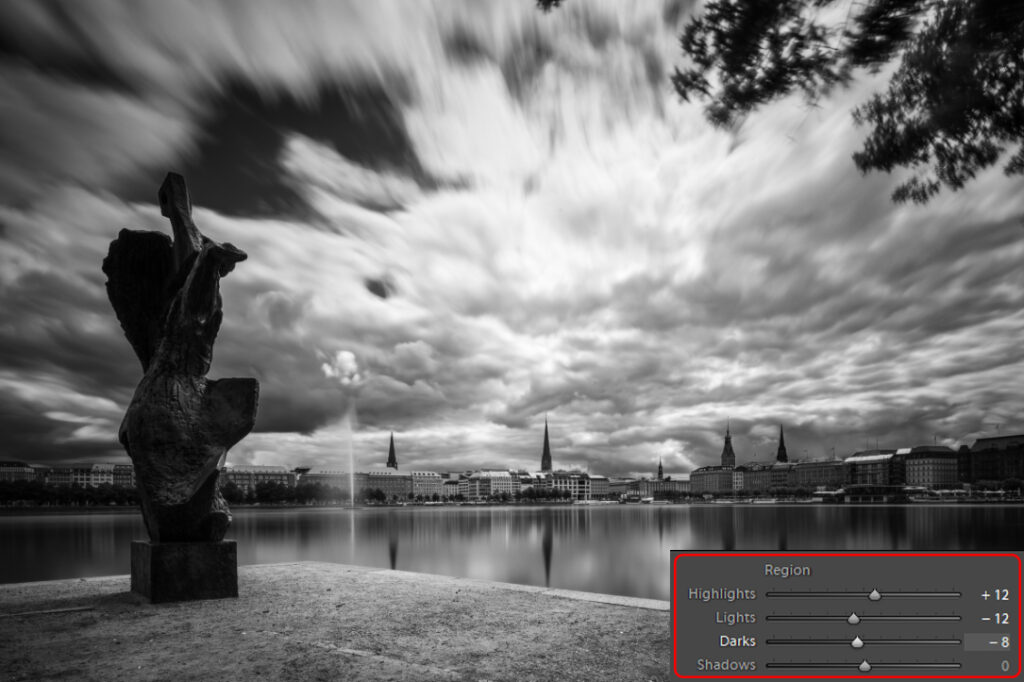
The next step in the workflow is to adjust the mood of the image. Generally you can give the image a darker or a brighter mood, which is a matter of taste and preference – a truly moody decision to make.
The first example shows how I select a dark mood by adjusting the regions in Lightroom: Lights and Darks regions are reduced to give a darker appearance, Highlights are increased to increase cloud contrast
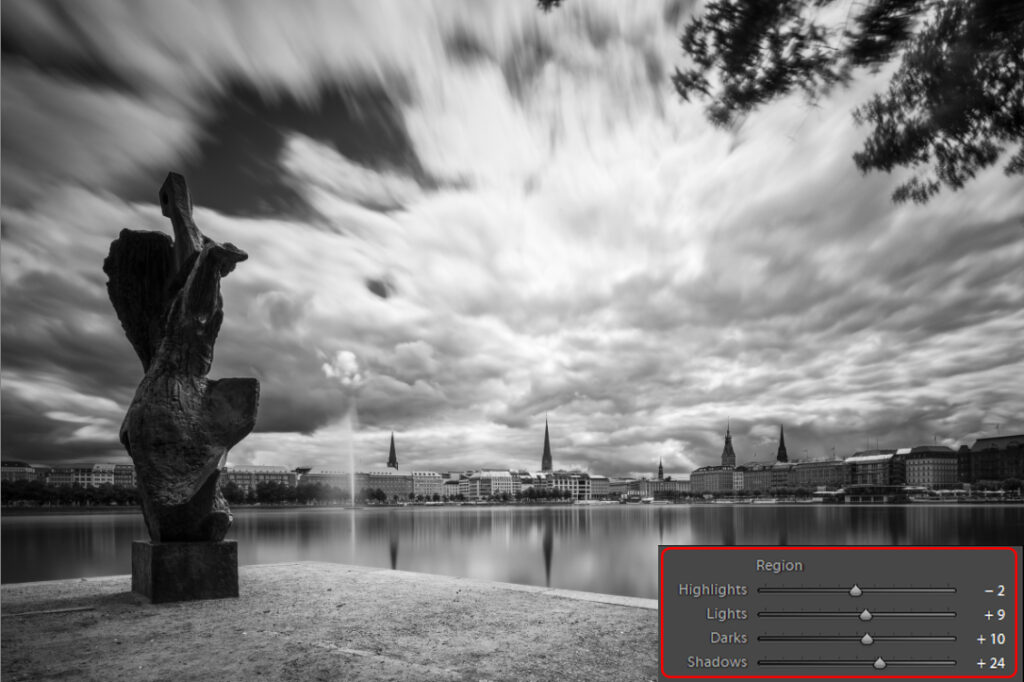
The second example shows how I create a bright mood for the same image: regions for Lights, Darks and Shadows are increased to create a more “sunny” image.
Some fine tuning required in Lightroom
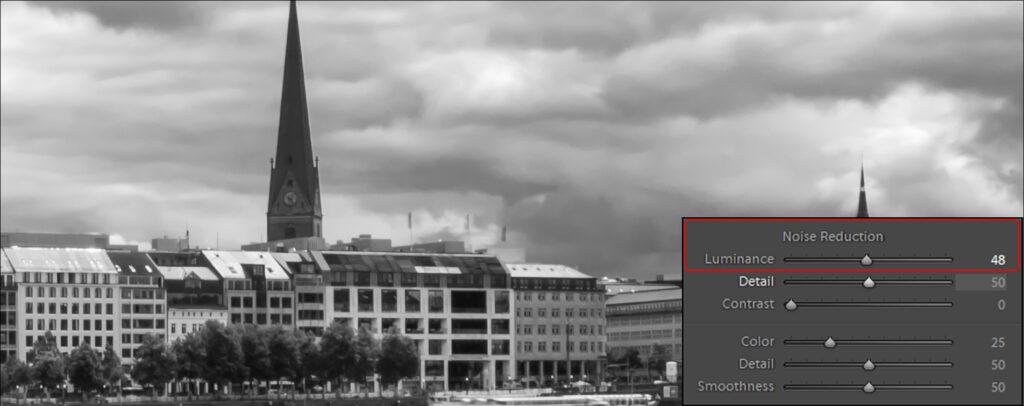
The last part of my personal workflow is to apply some fine tuning to remove imperfections. Less creative but more work. Fine tuning means that I have to zoom into the image to check the effect.
First thing in fine tuning is noise reduction. Adjusting the dynamic range and color channels will add noise to the image, and noise will be visible particularly in large areas of the sky. I set the “Luminance” noise reduction in Lightroom to about 50% and that will usually be just fine.
Next thing on the fine tuning list is to get all the lines straight. This is particularly important for architecture subjects. I do everything I can to get lines already straight when taking the image. I use shift lenses, bubble levels and viewfinder grid, but still the image might be slightly misaligned by half a degree or so. This is done in Lightroom via the transform sliders, either by rotating the image or by straightening perspective with the vertical slider. Of course a bit of cropping will be required afterwards, which Lightroom does with a single click.
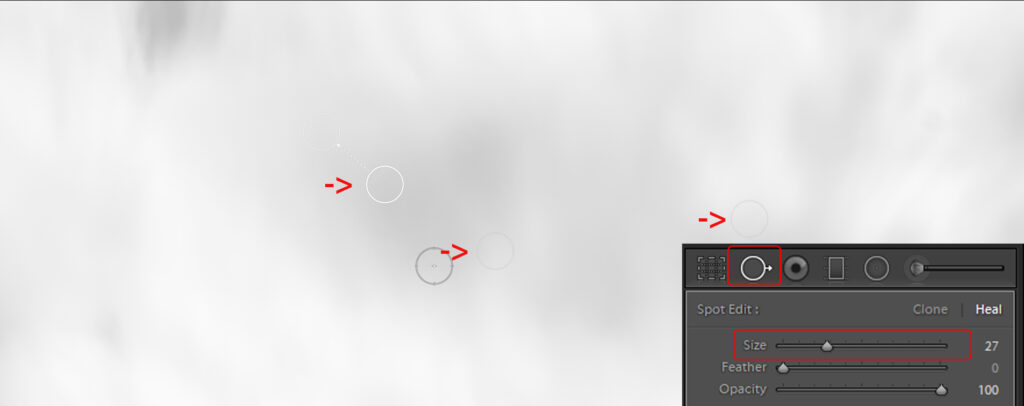
Final thing in fine tuning is to eliminate sensor dust spots. I use mirrorless system cameras and change lenses in the field, so sensor dust is an ongoing issue. Even if I clean the sensor before a trip, there will be new dust spots on the sensor when I return. Unfortunately, sensor dust spots show up much more pronounced on long exposure images than on ordinary images. I scan the whole image at large magnification area by area to identify all spots. They are most visible in bright areas of the sky.
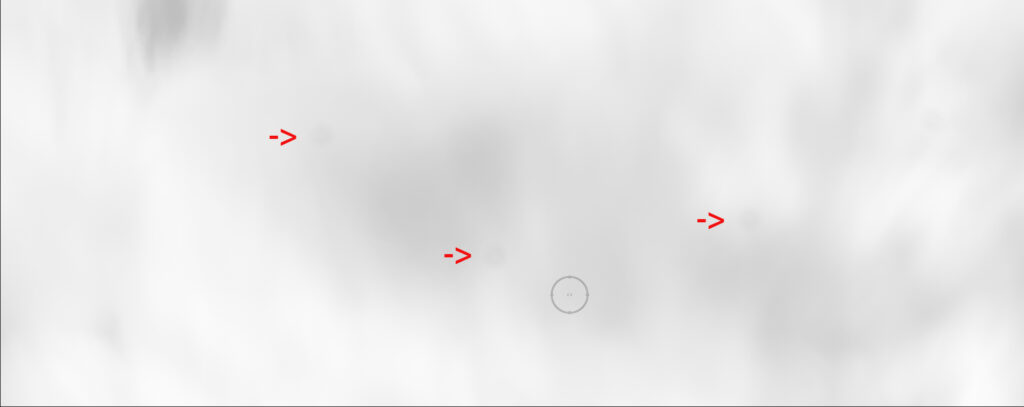
Lighroom has a capable tool for spot editing, and once a spot is found is eliminated with a single click. But scanning the whole image remains a boring task.
Export for further processing
After fine tuning the image is 90% complete. I will switch to other tools now for the final 10% of the workflow.
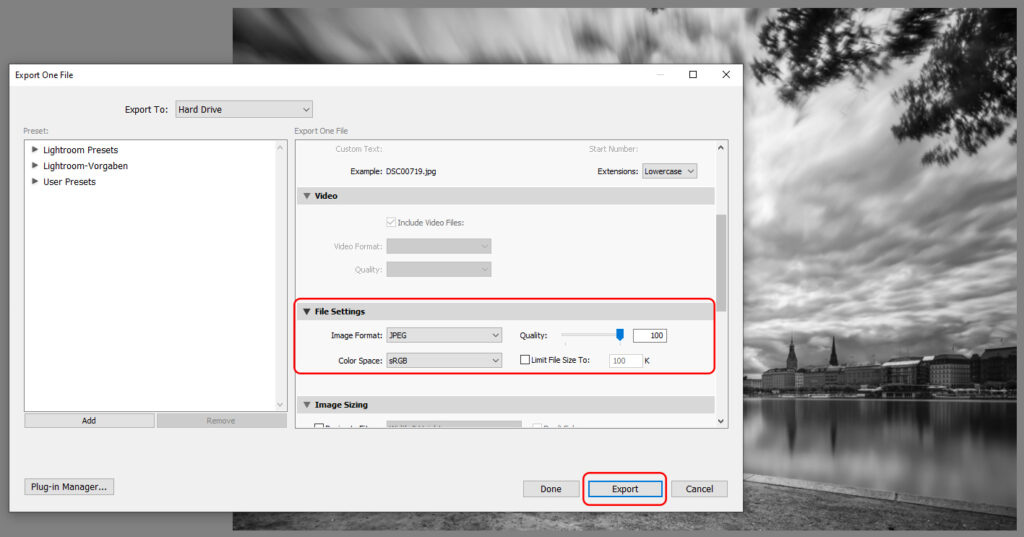
To do this I have to export the image as a JPEG file. I use 100% image quality which produces large files but I want to make sure that no image detail is lost for the subsequent steps in my post processing workflow.
Fine-tuning and downscaling in Photoshop
The next two steps in my workflow are done in Photoshop. First I make some final adjustments of contrast and tonality using the curve tool. I find the curve tool in Photoshop more useful and more detailed for local contrast adjustments than the curve tool in Lightroom. I make small adjustments for instance to increase contrast in bright areas without effecting the darker areas, and vice versa.

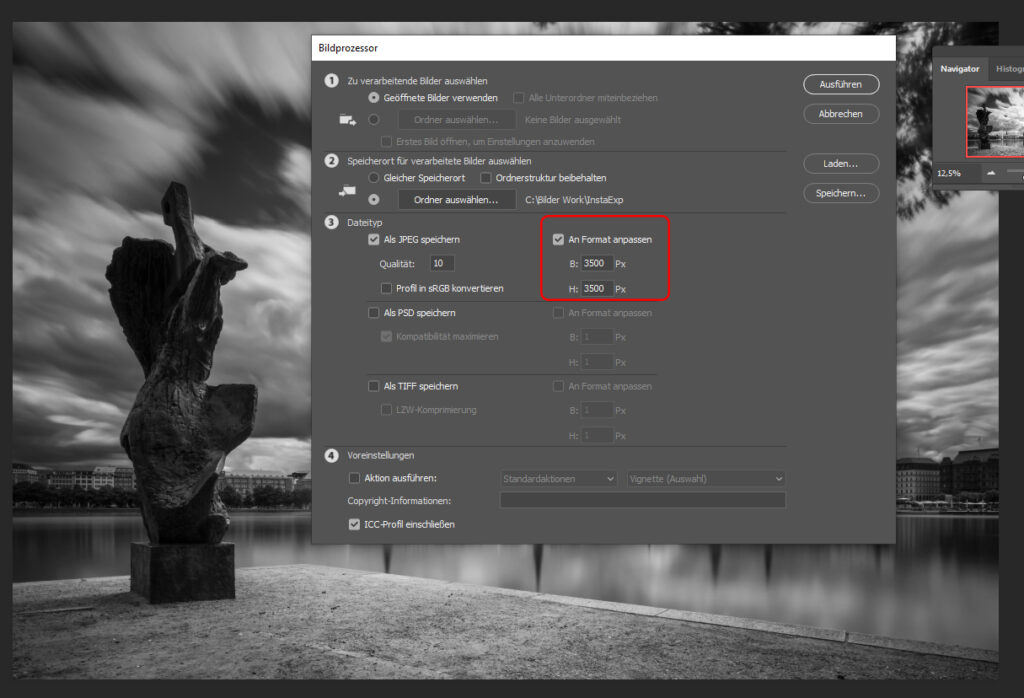
And I also use the Photoshop image processor for scaling down images for web publishing. When I shoot with the Sony A7R IV images will be large, 9500 x 6330 pixel. That is way too much for web publishing and online galleries and communities. So I scale down image batches to something like 3500 x 2300 pixel with the Photoshop image processor.
Optimizing for online posts with Snapseed
For online posts, e.g. on this website or on photo communities like 500px.com, I will make some additional optimizations. I find that online images which will be often viewed on small-screen mobile devices like smartphones and tablets need additional contrast adjustments to look vivid and crisp. The same image will look quite different when viewed on a large screen. So I use my mobile phone with the Snapseed app for these final steps to verify what the exact look for a mobile device will be.
When opening the image in Snapseed initially I usually see that somehow the image has lost its crisp and vivid look, despite the fact that I spent a lot of effort to make it look crisp and vivid on a PC monitor. That is typical on small screens.
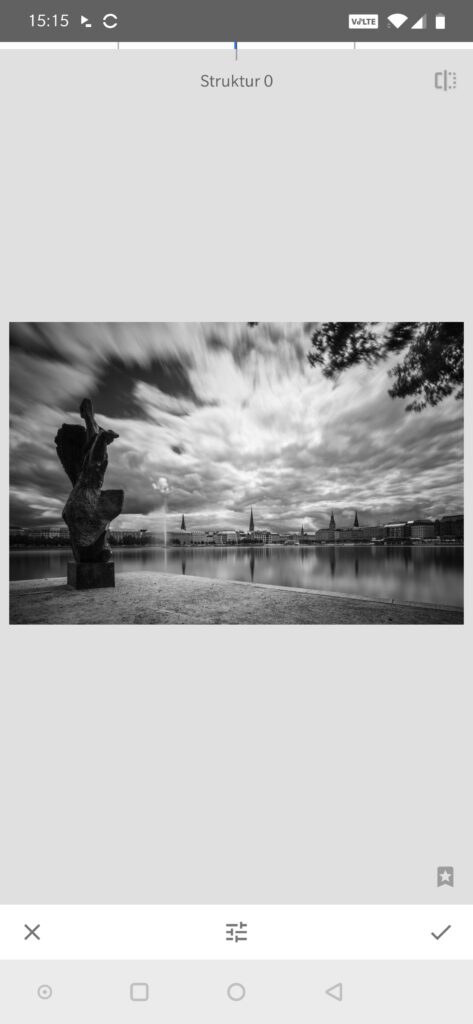
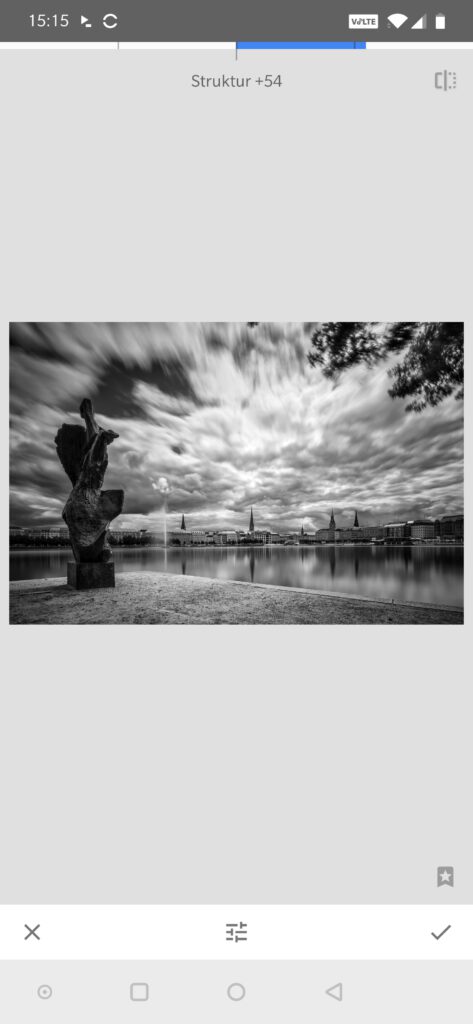
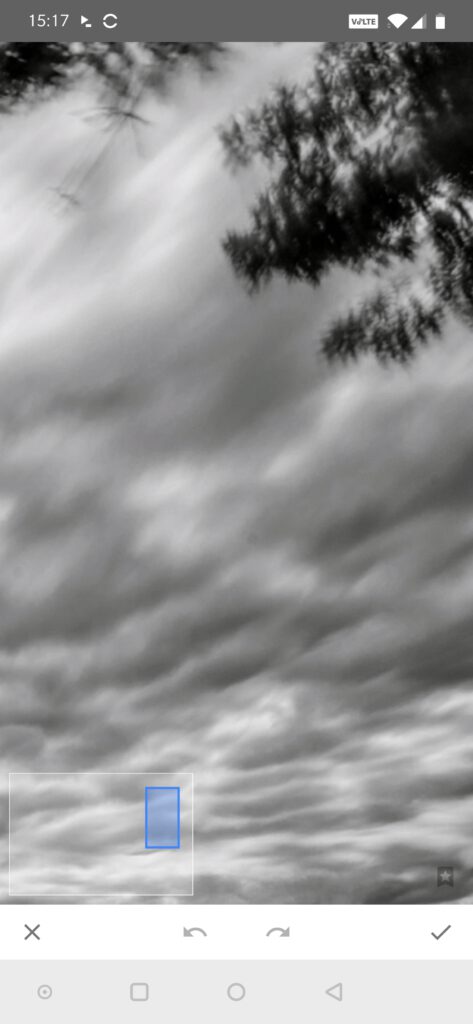
Snapseed has a very helpful “Structure” tool which will increase local contrast with a simple slider. This is what I use very often, and generously. For mobile viewing the contrast should be almost exaggerated. The image will regain the vivid look immediately. Snapseed also has an option to apply structure for local areas only.
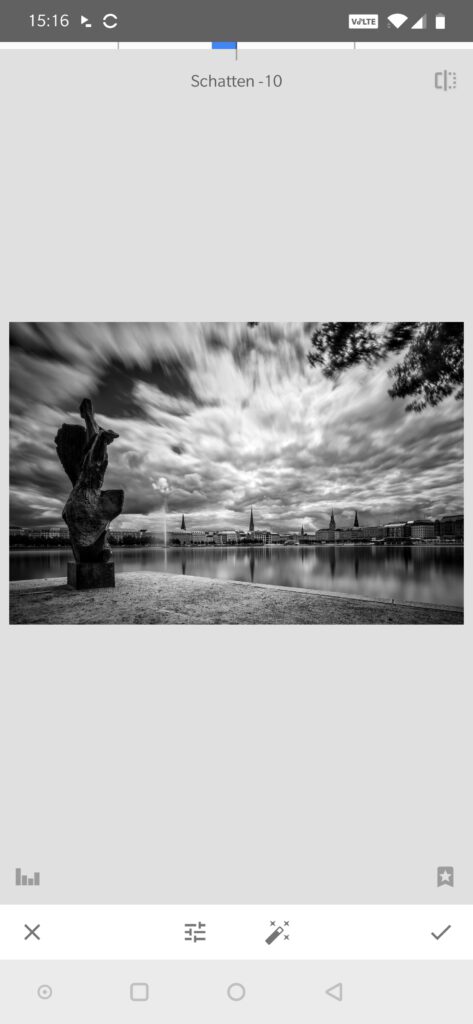
I next make some smaller adjustments and will adjust tonality in regions. The functionality is similar to what Lightroom has: you can increase / decrease shades, lights etc. For a good mobile look you may have to repeat or to reverse the adjustments that you have made initially in Lightroom.
There is one final check required: it’s about sensor dust spots – again. The contrast adjustments in Snapseed – especially the Structure function – will make even tiny dust spots visible which before were not visible at all and have not yet been eliminated in Lightroom. So, you will have to scan the image once again at large magnification to identify and eliminate spots. As in Lightroom, finding the spots is the hard part, removal is easy with a tip of your finger.
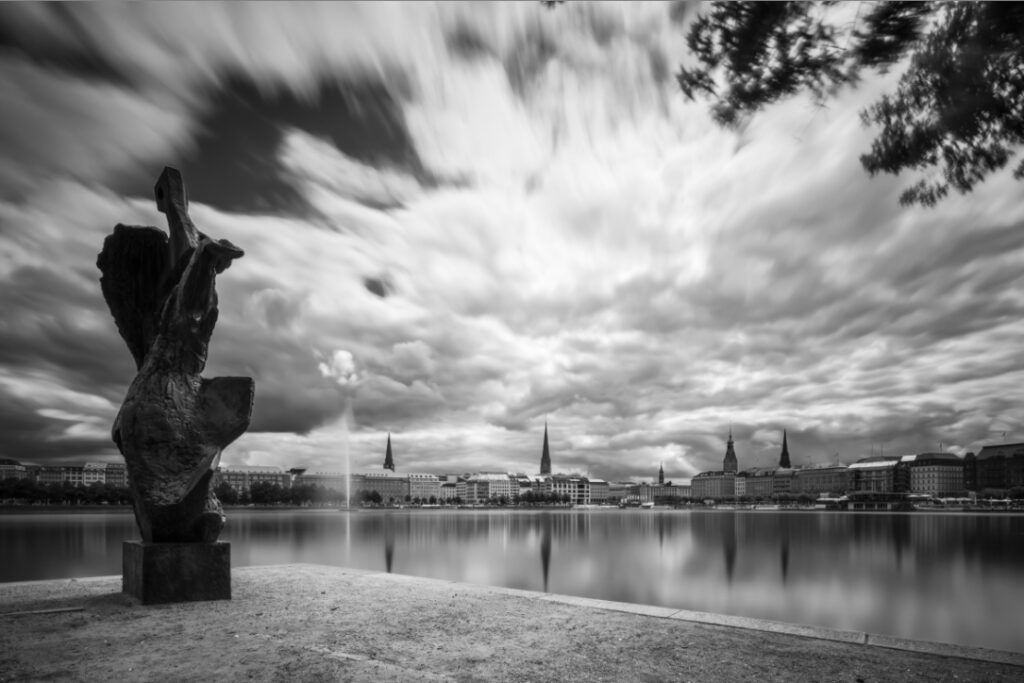
Mission accomplished – the final image
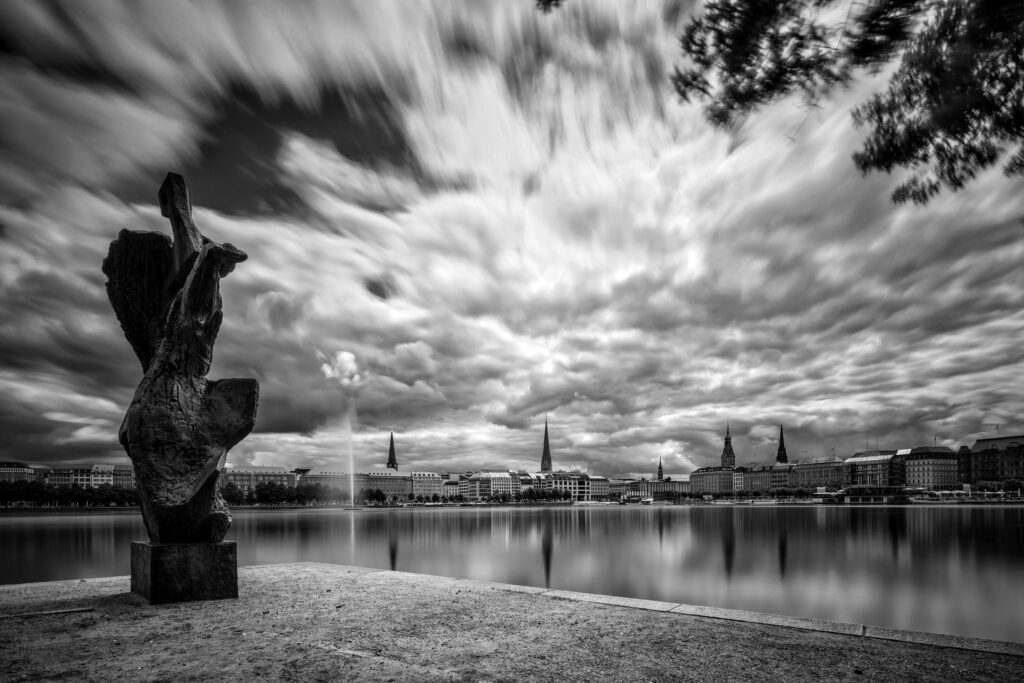
And finally, we have a long exposure photograph. This is the image that is ready for an online post.