The Camera
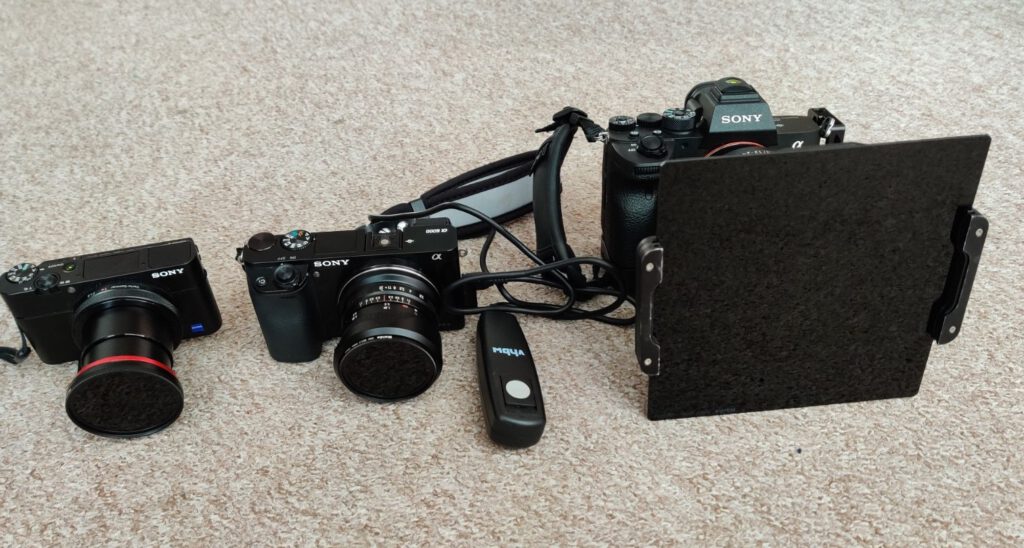
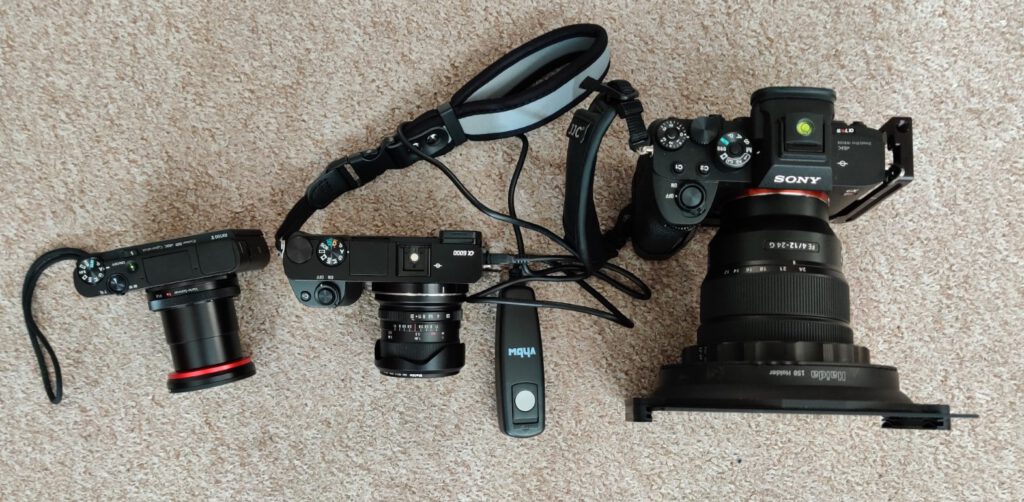
Most likely you will not need a new camera for long exposure photography. Most cameras will work fine, as long as you can turn off all the auto modes and shoot fully manual: manual focus, manual ISO settings, manual aperture control, manual exposure time settings including BULB. Exposure times will be anything from 15 seconds up to several minutes, and you should be able to fully control this. I personally have used a variety of different cameras: mirrorless full frame models (Sony A7R series), APS-C mirrorless cameras (Sony A6000) and even a point-and-shoot camera (Sony RX100V), and they all work for long exposure. I use mirrorless full frame cameras most often, because of the high resolution and the more user-friendly controls for manual shooting.
With modern digital cameras high ISO values are all the rage, and manufacturers push max ISO value with each new model even further. In long exposure photography though you need low ISO. With some cameras the lowest ISO value is 100, and that may be not low enough, especially in bright daylight. I use 50 ISO frequently. So check if your camera is able to shoot at low ISO values.
Lenses
For the unique cloud effects in long exposure photography you need wide angle lenses to capture both foreground and a large area of the sky. Really wide angle lenses and really short focal length, I mean. Standard zoom lenses will have a shortest focal length of 24 or 28mm (full frame), and that is not wide enough for me. I mostly use lenses in the 10-20mm focal length range (full frame), such as the Sony 12-24mm, Voigtlander 10mm Hyper Wide and 15mm Super Wide or the Laowa 10-18mm. For architecture subjects I also use the Laowa 12mm with the Magic Shift adapter very frequently, and occasionally a 28mm shift lens. Lenses with longer focal length are not very suitable for long exposure photos, at least not for me. Not enough room for sky and clouds.
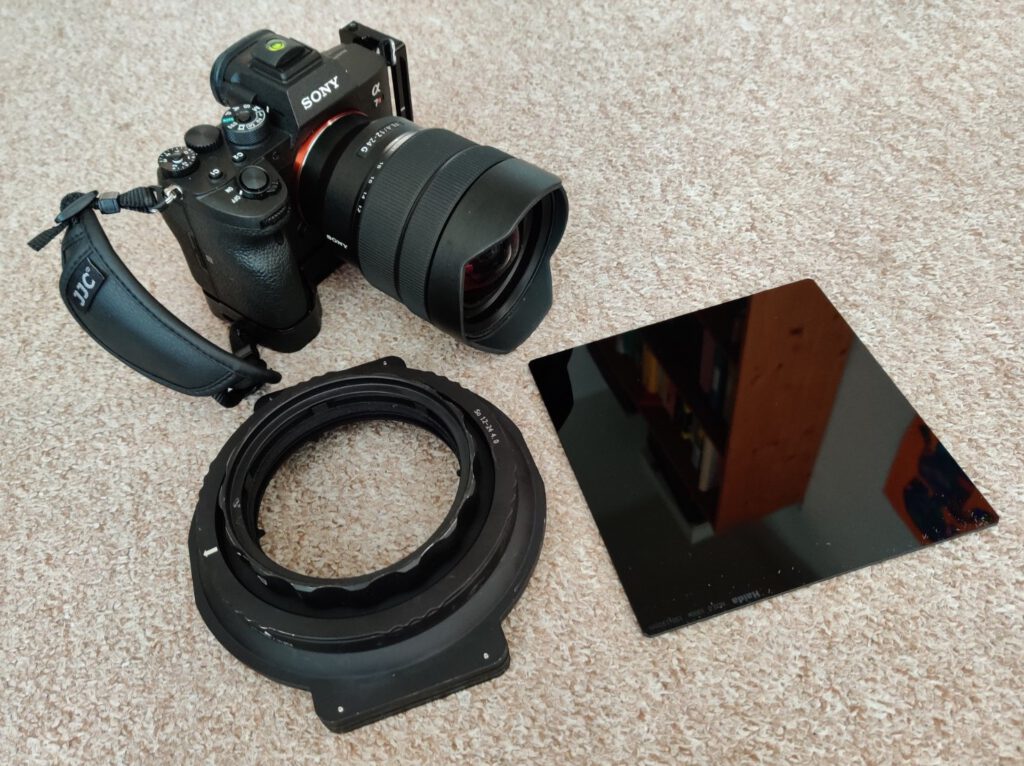
Of course you must be able to mount filters to you lens. Very wide angle lenses with a large protruding front element (such as the Sony 12-24mm) do not have filter threads and will require special (and expensive) adapters plus large size (and expensive) filters.
In long exposure photography you will not use large apertures. In fact even with a strong ND filter and I often have to use the smallest aperture settings (f/16 oder f/22) to get exposure times of several minutes. So no need to shop for the lens with the widest aperture and the premium price tag that goes along.
Filters
If you start with long exposure photography that is probably the most important initial investment into gear which you have to make. Without a strong neutral density (ND) filter the longest exposure time you can get with your lowest ISO and your smallest aperture setting will still be shorter than one second at daylight. But to get the desired long exposure effect (cloud streaks, people disappearing, smooth water surface and so on) you will need exposure times of 15 seconds up to several minutes. Thus you you need a strong neutral density filter which blocks most of light.
I recommend to start with a so-called ND1000x filter, sometimes also labelled ND 3.0. This is a filter which will block 99,9% of the light and will only let 1/1000 of the light pass through (hence ND1000x). That is the equivalent of 10 additional aperture stops. Basically a piece of black, intransparent glass if you look at it casually. For a long time ND1000x filters were my workhorse which were good for 95% of my images. Only recently I started to use ND4000x filters which will block even more light, so I can use slightly larger apertures and/or higher ISO values. And in some rare occasions I use a weaker ND64x filter. This filter is useful for photographs during a short transition period of 15-30 minutes at dawn or dusk.
There are several different filter systems and filter types out there, and I have used a variety: screw-in (threaded) filters and filter holder systems with square filters of 100 and 150mm size. They all have their pros and cons, so you will have to find out what works best for you:
- Threaded filters: Pro: they are compact and allow for a quick setup in the field. You can leave them on your lens when you put the lens in your bag, no disassembling / reassembling when changing location. Con: You need a different filter for each lens with a different thread, and for very wide angle lenses they will generally not work, as these lenses will not have a filter thread.
- Square filters: Pro: you will only need one filter even if you switch lenses. And they are the only filter option for some very wide angle lenses. Con: you have to mount adapter and filter every time you set up the equipment and then disassemble everything before you pack up, which inconvenient in the field if you switch location often. And filter holders plus filters for 150mm systems are quite bulky.
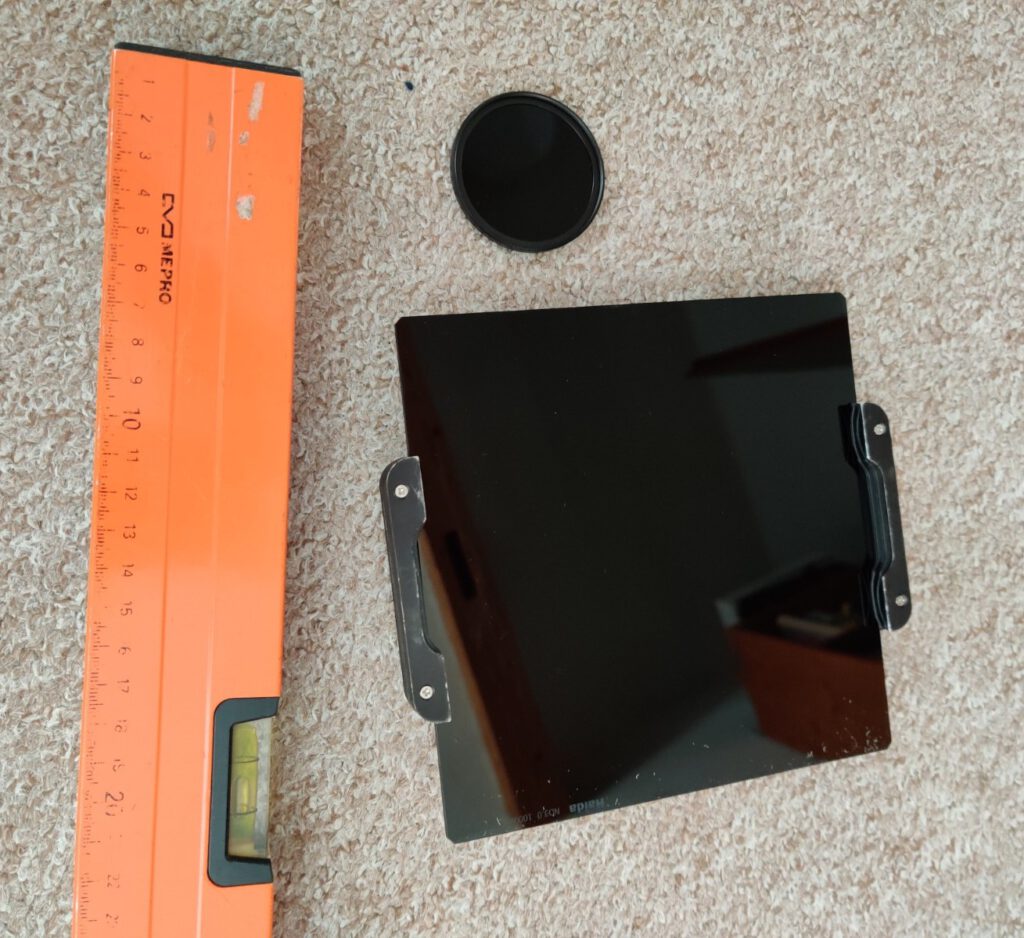
Even if ND filters look plain and simple – just a piece of black glass – they require precision manufacturing and are therefore not cheap if not outright expensive. Price increases with filter strength and size: an ND4000x 150mm square filter can be expensive. There are some low-cost options out there (which I have tried) but the quality was poor: uneven coating which creates strange patterns or pronounced color hue on the images. So you should go for filters from one of the better-known brands. I have found Haida to be a brand which delivers quality ND filters at still reasonable prices and can certainly recommend them.
One thing to keep in mind with square filter systems: you will have to use sealed ND filters for long exposure. Sealed filters block any stray light that will otherwise leak in through the tiny gaps between filter glass and holder. This is not an issue when shooting at regular exposure times, as the leak effect will be small and not noticeable. But with an ND filter which blocks 99,9% of the light the relative effect of the leak will be noticeable – and ruin the picture. Some square filters are shipped already with an optional seal, for others you will have to get extra seals.
Tripod
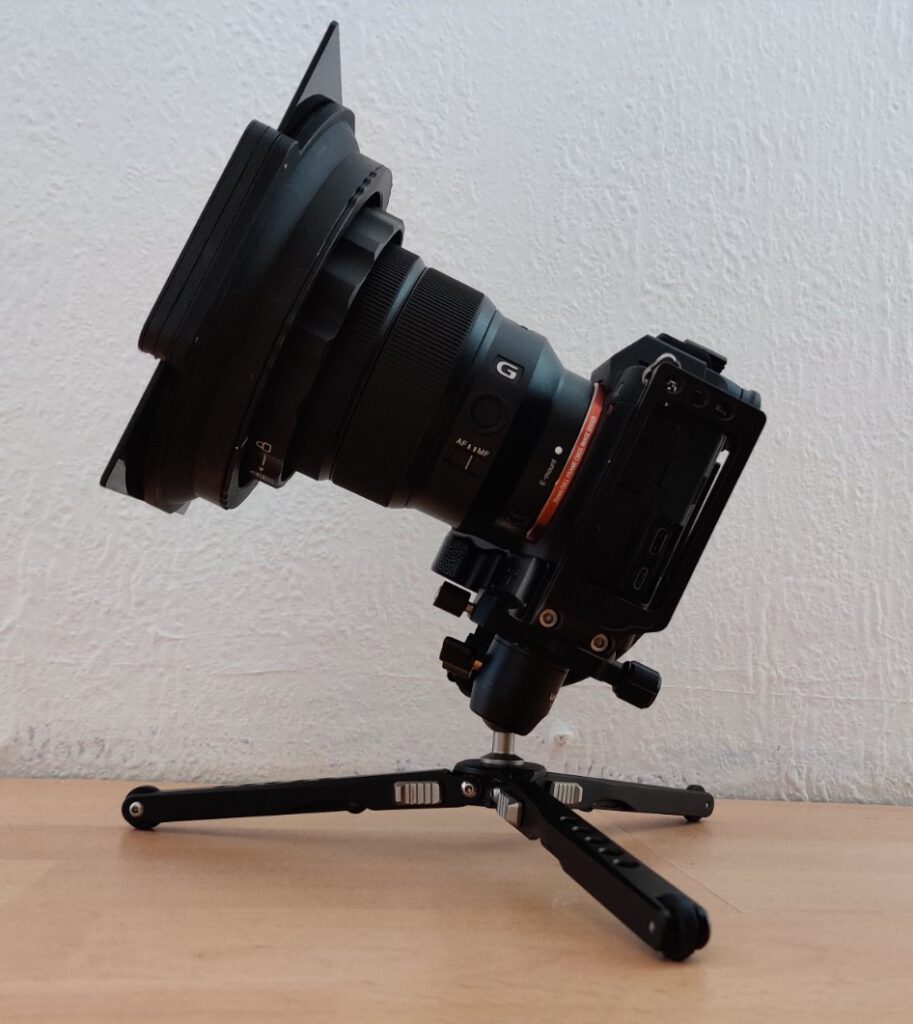
With exposure times at 15 seconds and more a tripod is a must. You definitely need a tripod that is stable enough to hold the weight of your camera gear (camera plus lens plus filter holder plus filter) completely steady and without vibration and shaking. Some of the most interesting long exposure cloud effects will only be there in windy conditions, so you need an extra sturdy tripod. Some light and compact travel tripods, useful as they may be for other uses, will just not be stable enough. If you are shopping around for a tripod for long exposure: check the diameter of the thinnest leg section – it should be 16mm or larger.
In addition to my regular tripod I always carry a small but sturdy mini tripod with me, for low-angle photographs just above the ground. I love low-angle perspectives as they will increase the long exposure cloud and sky effects. But that may be a personal preference. Some people use bean bags instead of mini tripods, but I found them not stable enough for long exposures: even after careful setup the beans still may shift internally
just so slightly during long exposure and ruin the photograph.
Other Essential Gear
There are a couple of additional items which are definitely needed:
- Remote shutter control to trigger the exposure without shaking the camera. Whatever remote trigger system there is for your camera: by wire, infrared, radio frequency, bluetooth or others.
- Timer: my cameras have a built-in maximum exposure time of 30s, so for anything longer I use the BULB setting and measure exposure time manually. I simply use my watch which displays seconds. Ultimate precision is not required. If you want to expose for 60 seconds you will not see any real difference between a 59, 60 or 62 seconds exposure.
- Weather App: Yes, a weather app with a detailed animated cloud radar forecast is a VERY essential tool for long exposure photography. With the animated cloud/rain radar I am able to anticipate if, when and where conditions for a good long exposure photograph will be likely. More on the optimum weather conditions below.
Light Leaks
Light leaks can be a very annoying thing in long exposure photography. There may be a tiny light leak that was around all the time and doesn’t affect regular photography. But due to the low amount of light that is passing through the ND filter this little leak will suddenly visible all over your picture. I have seen light leaks all over the camera setup:
- On the camera body, e.g. a little crack at the lens mount ring, developing when using heavy lenses – a know issue for some Sony mirrorless cameras
- On the lens, e.g. a tiny gap on the seal of a shift lens or from internal lens reflections
- On lens adapters for non-native lenses, small gaps on the mount ring, some of these adapter light gaps even seem to occur on different adapters from different brands
- On the filter / filter holder, particularly the gap between filter holder and filter glass when using non-sealed filters
To professionally fix these leaks expensive repairs will be necessary. Fortunately, most light leaks can be fixed also temporarily with low-tech, low-cost hacks. Often a piece of black cloth or black ribbon which is placed over the leak will do the job and save the pictures. A pair of black socks (laundry first, please) and black hair ribbons have worked fine for me.