Choosing the viewpoint
I mostly use very wide angle lenses (10 to 20mm focal length on full frame) for long exposure photography to capture a large portion of the sky with the dynamic cloud effect – see also my chapter about gear for long exposure photography. Composing an image with very wide angle lenses is different than with regular lenses, as they have some unique characteristics.
First, with very wide angle lenses every object from middle distance (couple of meters) to infinity will be very small and hardly recognizable. This means that if you compose an image that includes only objects from middle distance and further the image will look very flat – and even boring.
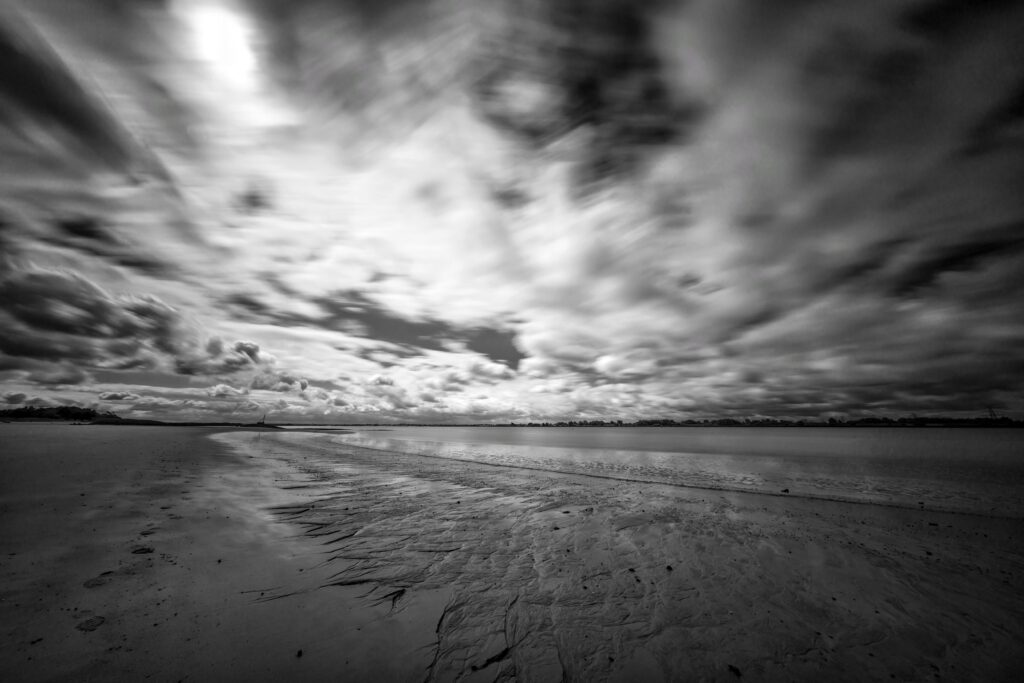
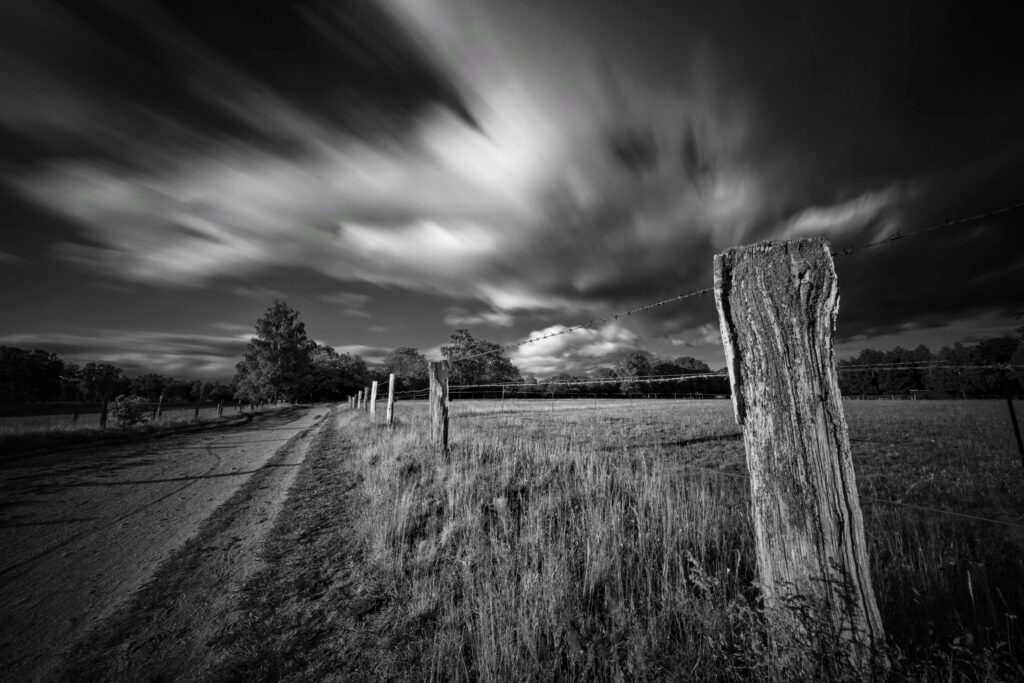
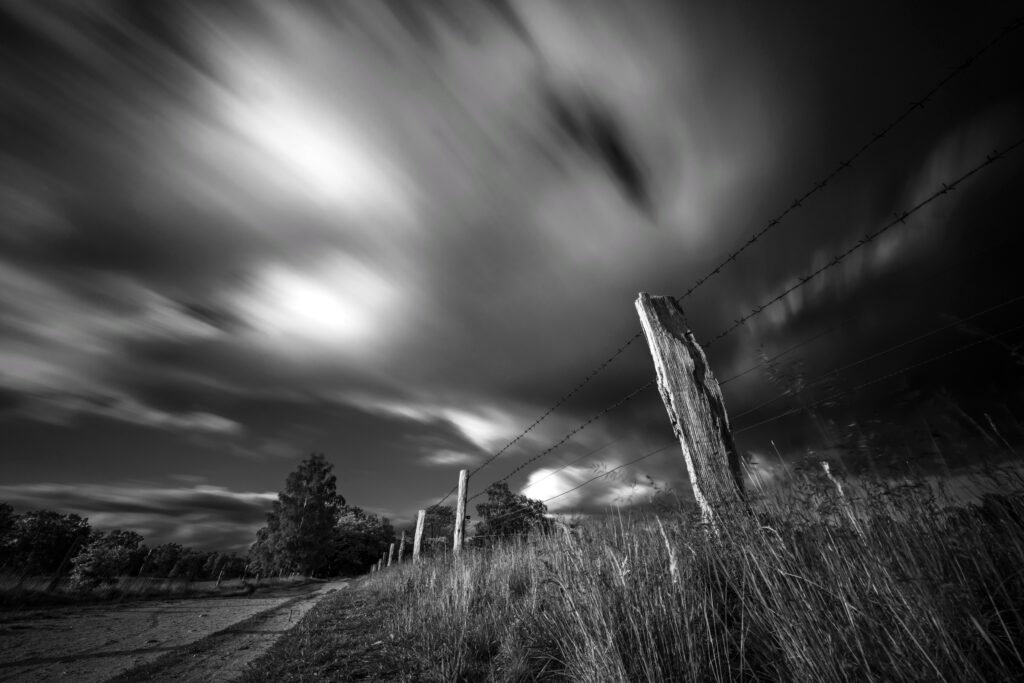
With very wide angle lenses it is therefore important to compose the image with some near-distance foreground objects in the frame, to get image depth. The good thing is that even rather small objects, such as small rocks or pieces of wood can be used, as very wide angle lenses have an enormous area of sharpness, from a few centimeters away to infinity. So you can position the camera very close to the object and still have everything sharp from foreground to infinity. The small objects will appear larger than life and give your image the necessary depth.
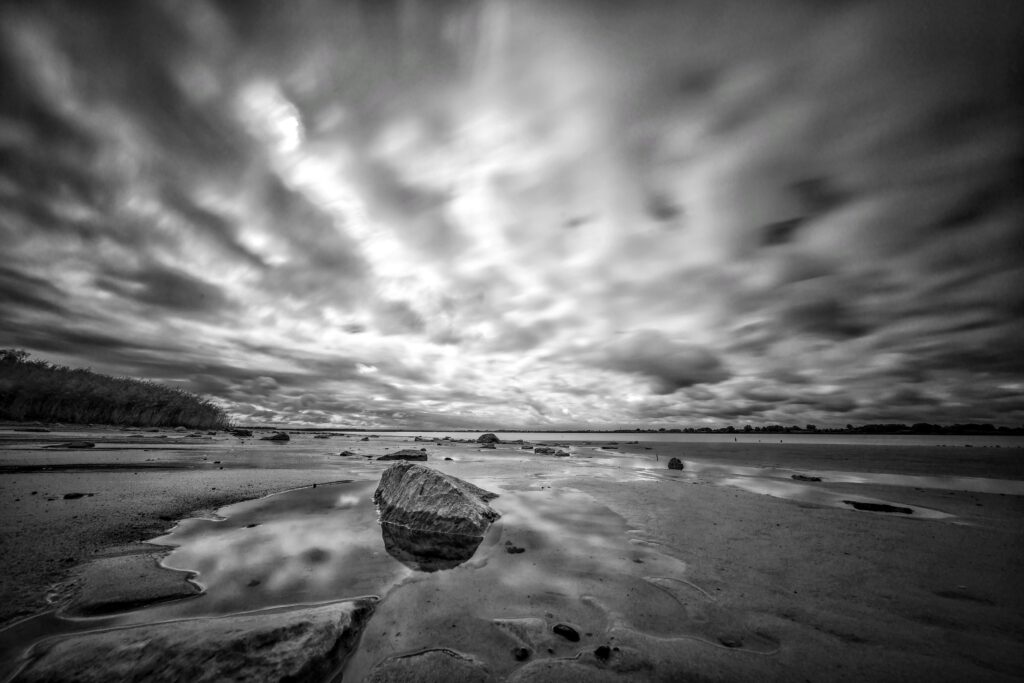
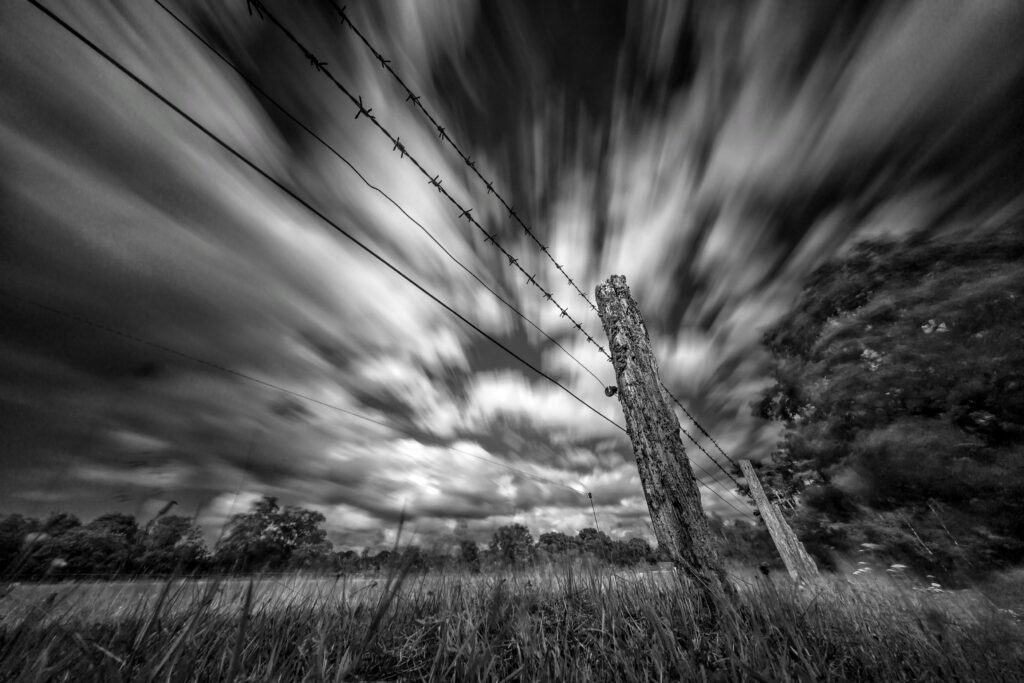
If possible choose solid foreground objects like stones, pieces of wood or (my favourite) fence posts. These objects will remain still in windy conditions during long exposure photography and look sharp. Objects like flowers, small trees etc. will move in windy conditions and become blurred in a long exposure.
To get these small objects into the frame, I often choose a very low viewpoint, sometimes just centimeters above the ground. This will require to point the camera up at an angle to get a large enough area of the sky into the picture. I will also often violate the “rule of third” for composition of long exposure images and position the horizon a lot lower, at a quarter or even a fifth of the image. For these kind of compositions a mini tripod is very helpful (see gear for long exposure photography).
If you are not used to very wide angle lenses and shooting from low viewpoints I recommend experimenting and comparing. It is really surprising how different the world looks (and how different the image composition will be) if you leave your normal human upright viewpoint and look at the world from the ground.
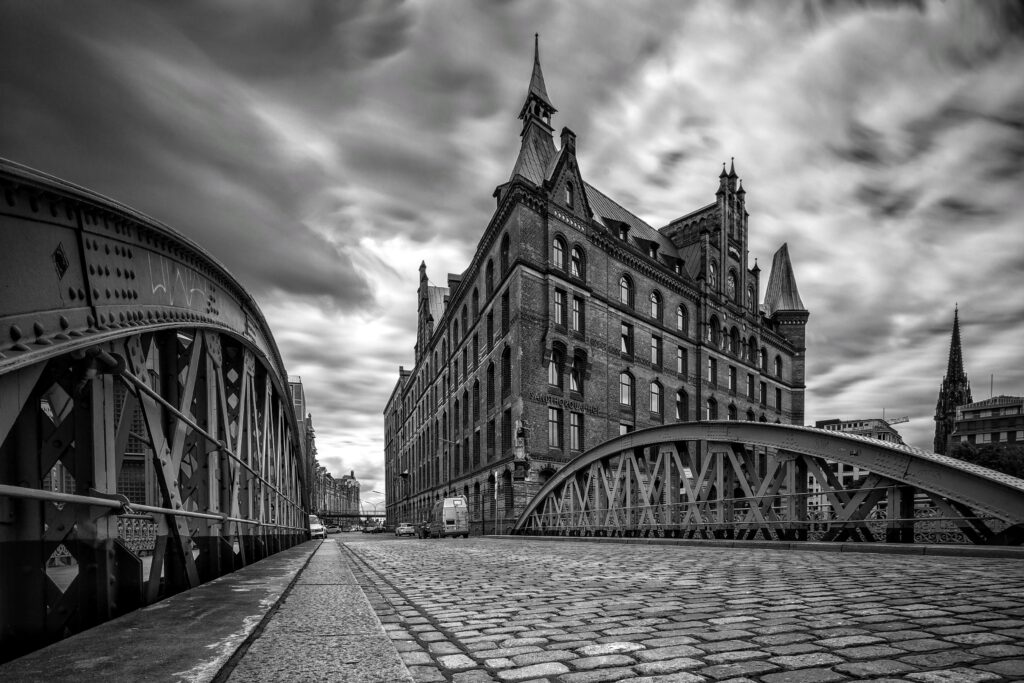
For long exposure photographs with architecture and cityscapes I prefer to use shift lenses, especially when I use low viewpoints, to get straight vertical lines. Of course you can make perspective corrections and straighten the lines in post processing with image software functions, but this requires substantial cropping and therefore loss of pixel. I try to avoid this.
Cloud coverage, wind direction and direction of sunlight
I always watch the weather and check cloud formation, wind direction and direction of sunlight upfront and plan potential shots upfront, see the chapter about planning and anticipating long exposures. But despite all upfront planning, the weather will still offer some surprises when I arrive on the spot. So when composing the image, I will check everything again:
- Cloud coverage – is there sufficient cloud coverage (more clouds than blue sky) and sufficient texture? Sometimes it is worth to watch the cloud movements carefully and wait a couple of minutes until local cloud coverage has changed.
- Wind direction – if possible I try to set up my camera relative to the subject so that the direction of view is parallel to the wind direction, to maximize the dynamic cloud effect.
- Direction of sunlight – I try to avoid to shoot long exposure straight into the sunlight, as the contrasts and lens artefacts will be most likely unfavourable. Again, it may be worth to wait a couple of minutes until either the sun has disappeared behind clouds (if the sun will be inside the picture frame) or until the sun has come out behind the clouds (to illuminate the subject).
Determining correct exposure
As the term “long exposure” implies, long exposure photography is about extending regular exposure times in order to use the motion blur effect of clouds and water as a creative element. Exposure times should be typically in the 15 seconds to several minutes range and can be extended by a combination of
- Setting low ISO values on the camera (or using low ISO film material in analogue photography)
- Selecting small apertures on the lens
- Putting strong neutral density (ND) filters onto the lens (see my chapter on gear for long exposure)
I generally use the following procedure on the spot to come up with correct exposure settings. I am using cameras with built-in through-the-lens metering, and the procedure takes this into account.
- I first select the initial ND filter strength. On bright and sunny days I will start with an ND 4000x filter, on gloomier days (fall and winter) I will use an ND 1000x filter, at dawn/dusk I will select ND64x and when it gets dark no filter is required.
- I then determine optimum exposure time for a nice cloud motion blur effect. This speed will depend on wind speed, e.g. 15 seconds will be fine in strong autumn winds, in a nice summer breeze an exposure time of 2 minutes will be required (see also the chapter about planning and anticipating long exposures).
- I then determine aperture setting and ISO value. Usually I start with f11 or f16 and will then adjust ISO so I get a correct reading on my camera. I go for ISO values between 50 and 200, if I get outside this range I will adjust aperture or sometimes switch ND filters.
- I need an additional step for exposure times over 30 seconds, as my camera has a maximum auto exposure time of 30 seconds, and I have to shoot in BULB mode. In this case I will first determine aperture and ISO value for a 30 seconds exposure and then switch the camera to fully manual and adjust aperture and/or ISO value by one aperture stop for 60 seconds or two aperture stops for 120 seconds.
- Last, for some very wide angle lenses (10-12mm focal length) I will make a small adjustment and increase ISO or aperture by 1/3 or 2/3 of a stop. For some reasons, when using through-the-lens metering for these lenses with a strong ND filter attached the meter value will be off and the image underexposed.
I do the all the metering with the standard average metering mode of my camera. That produces reliable in-camera results which are suitable for my post processing workflow.
I think it goes without saying that I use a tripod and a remote trigger to make the exposure (see also the chapter on long exposure gear).
Ooops – underexposed?
If you check the exposure results immediately on your camera many images will look underexposed. Do not worry. If you select a viewpoint which includes a large portion of the sky and use the procedure described above with camera average metering mode the image will be correctly exposed for the sky but foreground objects will be underexposed. That will be corrected in the post processing workflow. It is simply an application of the old photographer’s rule: expose for the highlights, develop for the shadows.
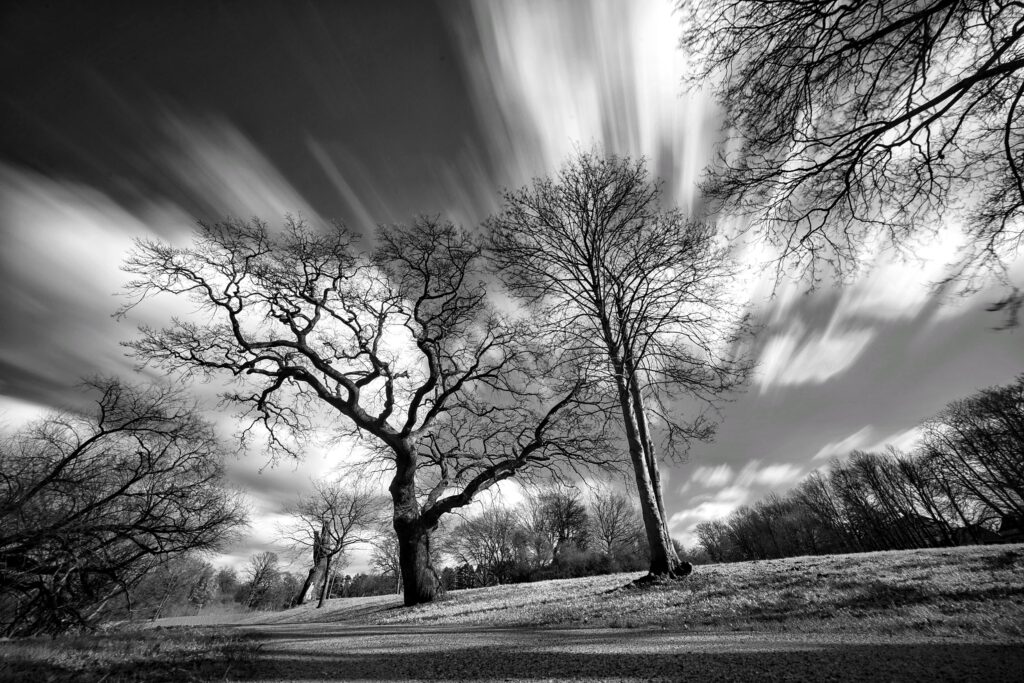
Vegetation Blur
When you make landscape long exposures in late spring, summer and early fall there will be green vegetation in the frame: trees with leaves, tall grass, flowers, weed and so on. In most cases the vegetation will be blurred: for long exposure you need some wind, and wind will not only create the desirable cloud movement but will also move everything with green leaves. That effect can be very pronounced and will look unnatural, especially on trees.
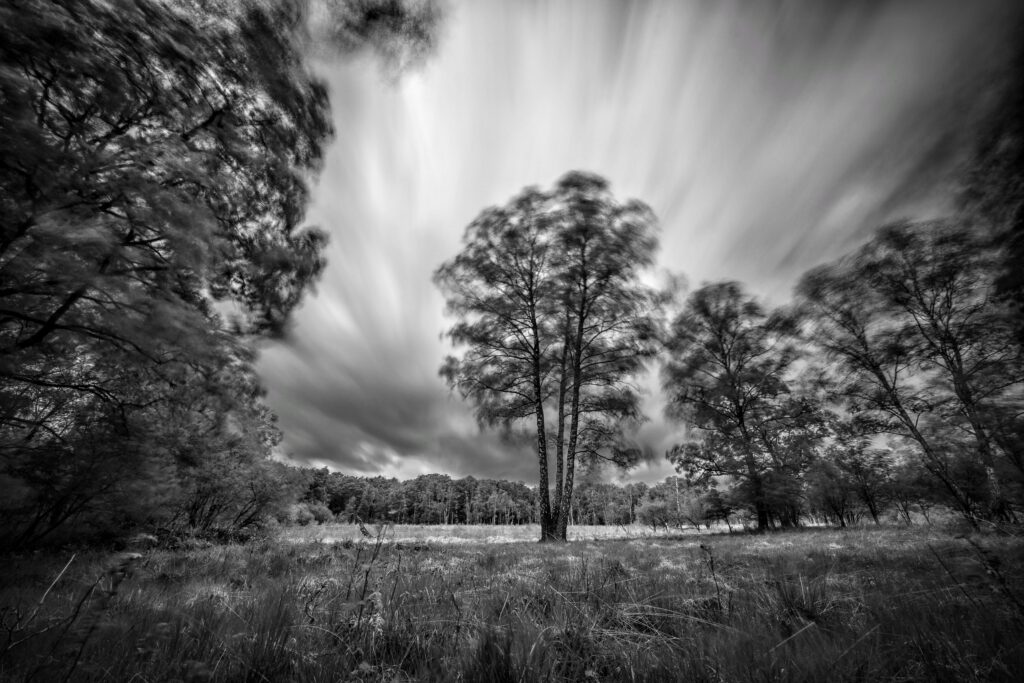
I therefore prefer shooting long exposure landscapes, particularly trees, during the colder seasons, late fall through early spring. Trees without leaves will not show vegetation blur and – at least for me – will look more natural.